Renewed Reloved Furnishings & Interior Decorating
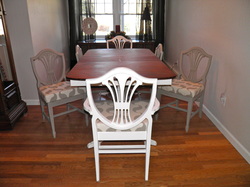 Well, hard work certainly paid off with this dinning set I refinished for my mom for Christmas. The top was stained with Early American minwax, and we wanted to make the piece a bit more complex, so we did two tone chairs. The captain chairs and the base of the table are a soft cream, and the 4 side chairs are a green gray, but the fabric remains consistent throughout. Make sure to see the before and after gallery in the "Finished Custom Order"section!
0 Comments
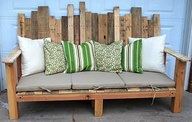
 OK, sooo I am TRYING not to freak out. My paint gun stopped working the other day, and I've been subbing in the morning and working at my after school program, and haven't had time to exchange the paint gun... so now I am on my way to Lowes.... I need to paint the entire dinning room set, upholster cushions tonight, poly acrylic spray tomorrow, and re-assemble the chairs, finish gathering decor pieces (as I am doing the entire room)..... get the furniture in the room.... oh wait, I also need to finish xmas shopping and wrap presents!! panic? Who said anything about panic?!!! 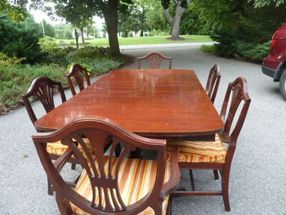 I am surprising my mom with a new dinning set for Christmas.... I picked up a set a while ago, and I finally came up with design plans.... now I have to haul my booty to get it done for Christmas Eve!!! The design is going to look fantastic. Even picked out new material to re-upholster the seats (as you can see from this before pictures, the cushions haven't been updated since the 1970's!) Here is the BEFORE... 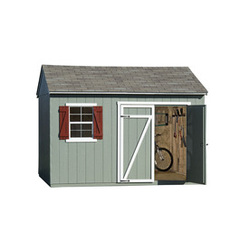 I feel like I could combine so many Christmas songs for this post.. haha so here goes! Here is my "grown up Christmas list.." "Santa Baby" "all I want for Christmas" is this awesome shed so I can do all of my work in it (and get my basement back!) I won't be terribly disappointed if I don't get it, but it might be a "blue Christmas" for me! So if you want to help a girl out Santa... "Hurry down the chimney tonight!" 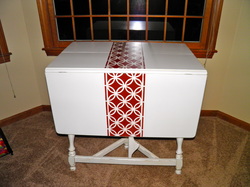 Brought this drop leaf table to my client, and now I can post the pictures! I have titled this piece "Table Runner." You should check out the before and after album to see the process. We picked a stencil, but I felt it was a bit too small, and doubling it up would be too busy, so I enlarged the print, and then HAND CUT out the stencil with an exacto knife-- here are the fruits of my labor: While on pinterest a while back I saw this DIY. I loved the idea of white washing pickets as a backboard.... so I got to thinking......what if I used old porous pickets and created a more textured backboard for the bench? I saw this on pinterest this evening... I plan to combine the ideas and finish this beauty off. Wait till you see the fabric I chose for the seat cushion!
Thank you every one who came out, this is all very exciting and I appreciate all of the support! Here are before and after pictures of the shop, check them out! |
Archives
July 2018
|
